My son, who is currently a 6th grader, participated in a 4H speech contest last year. As we all know, public speaking is among the top fears of the general public. My son was therefore not unique in his disdain for public speaking, but he practiced thoroughly and came in first place advancing to the next round three times before we had to back out of the final contest due to scheduling conflicts. The topic of his speech was "How to Make a Newspaper Seed Ornament." If it's good enough for a champion presentation at a 4H contest, who am I to keep it from you. So here you go. Instructions for an easy homemade Christmas gift.
Homemade gifts are a wonderful surprise during the holidays. When that gift can grow for seasons to come it’s an extra special treat. Seed paper ornaments are an easy, inexpensive and quick project that can brighten your loved ones’ homes and yard. Even better, it’s a project for all ages.
The basics of this project include embedding small seeds into recycled paper. Seed paper ornaments can be used as adornments for gifts or the holiday tree. During spring plant the ornaments directly into the soil and watch the flowers grow.
Materials:
* Newspaper
* Blender
* Cookie Cutters
* Flower Seeds
* Window Screen
* Towel
* Bowl
* Scissors
* Toothpick
* Ribbon
* Label (See below)
To make seed paper ornaments collect several sheets of non-glossy paper. Newspaper works well, but colored paper scraps are a good choice if you want more decorative ornaments.
Shred the paper into small pieces and soak in a bowl of water for several hours. Put the soaked paper into a blender and blend it into a pulp. Be sure there is enough water to avoid clogging the blender and damaging the motor. Pour the paper pulp back into the bowl and drain out most of the water. Don’t wring the water out of the paper though because that will make it difficult to incorporate the seeds.
Select a cookie cutter with the desired shape for your seed ornament. Place the cookie cutter on a screen (window screens work great) over a cloth towel. If you don’t have a screen you can modify this step to use what you have available, but the screen does provide a nice surface that allows the water to drain from the paper pulp. Fill the cookie cutter mold with the paper pulp ensuring all of the spaces of the cookie cutter are filled.
Sprinkle the seeds on top of the paper pulp within the cookie cutter. Wildflower mixes are a good option for this project because they include hardy flower varieties. Small seeds embed into the pulp better than larger ones. The seeds should not be processed in the blender as this could damage the seeds and make them nonviable.
After the seeds are evenly dispersed, gently press down on the pulp inside the cookie cutter to allow excess water to drain out through the screen. Depending on how wet your paper is you may need to replace the towel with a dry one.
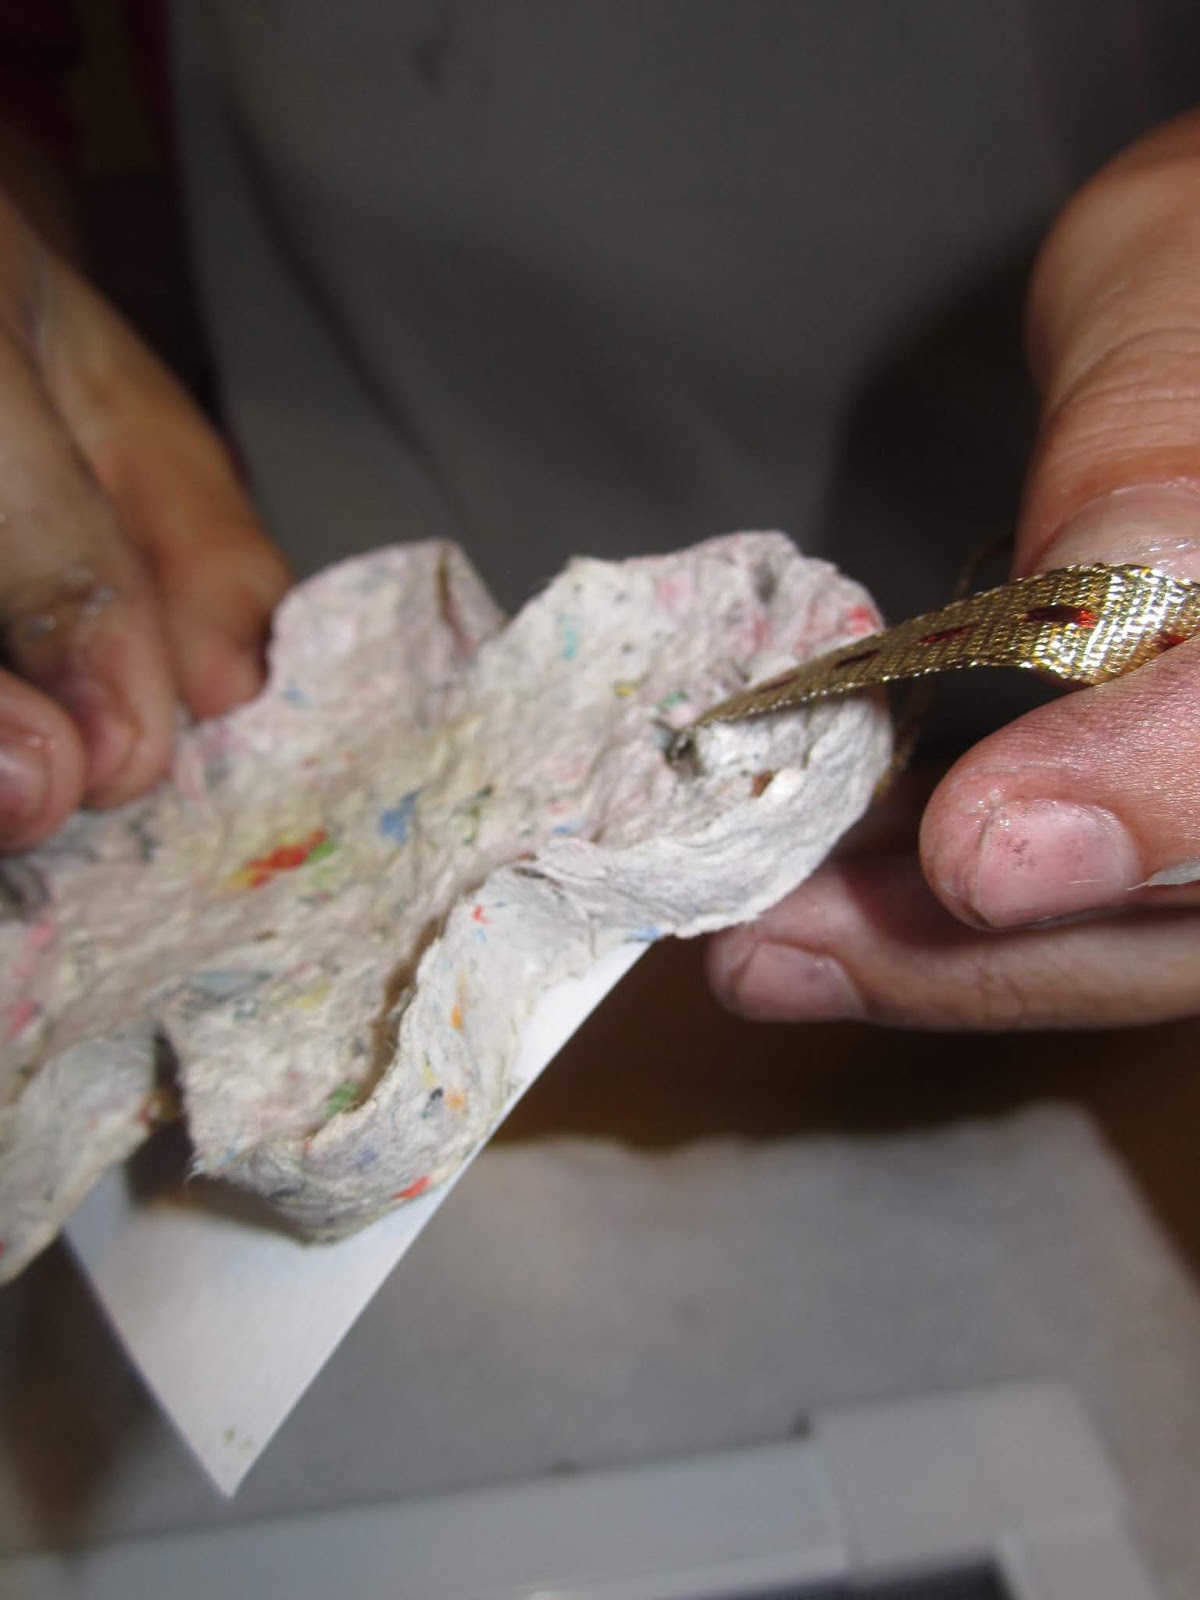
Use the tip of a pencil, toothpick or other pointed tip to create a small hole at the top of your ornament. Once the seed paper ornament has dried, thread a piece of ribbon through this hole and attach a label with an explanation of what makes this ornament special and how to care for it.
This homemade gift is sure to be a hit for seasons to come. Get the family involved and get your hands dirty putting your creative gardening skills to work.
I typed up simple labels on cardstock to attach to each of the newspaper seed ornaments. Here is the text we used.:
"Handmade for you!
This ornament was made just for you with recycled, biodegradable paper and flower seeds. Use this ornament to decorate your home, then plant it beneath ¼” of potting soil in a sunny location after the risk of frost has passed. Keep the soil moist until seeds germinate. Enjoy your flowers!"